Welcome
Commit to trying ARROW-LOK™ on at least five patients while closely following the recommended technique.
As simple as the ARROW-LOK™ is and uncomplicated the operative technique may be, please expect to take at least five cases to become comfortable with the product, the operative technique and how the design interacts with the anatomy. Five (5) cases will give the surgeon the opportunity to experience the simplicity of the ARROW-LOK system on patients with varying bone quality and assorted anatomical variations.
Preop planning helps determine the correct size implant.
Review the preop radiographs and the patient exam. Utilize the
ARROW-LOK™ Radiographic Template.
- Anticipate the soft tissue releases.
- Get an estimate of the size and shape of the intramedullary canal.
- Predict the implant length.
Consider that the removal of bone from the ends of the proximal and intermediate phalanges will result in 3-5mm less length for the implant.
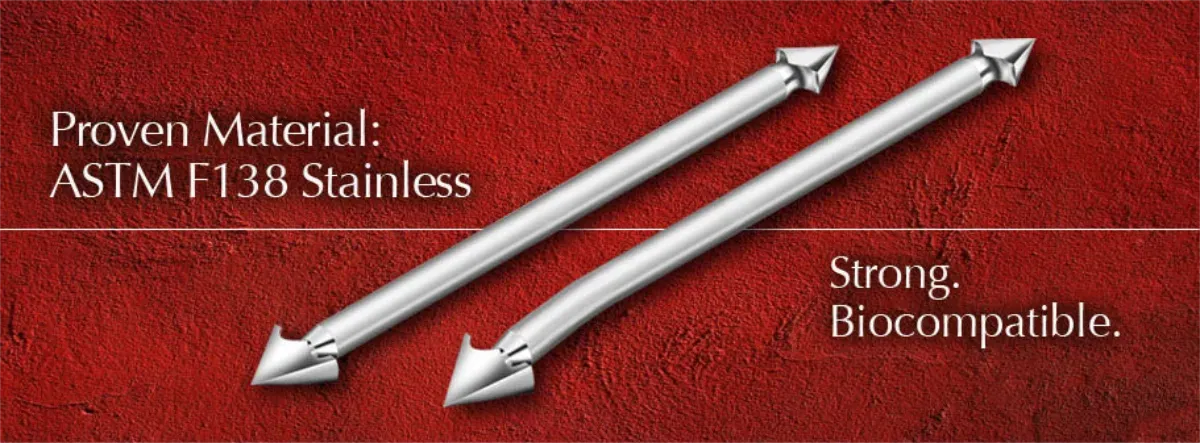
Notice where the width of the intramedullary canal is less than the 3.5mm diameter of the ARROW-LOK™ implant. Measure to ensure there is enough length to accept an implant, considering that the length of the implant includes the 3mm length of the arrowhead tip.
Expect the unexpected. Be prepared.
Ream down the center of the intramedullary canal.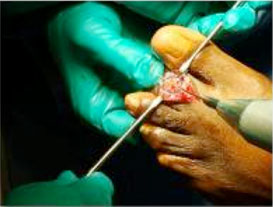
Aim the reamer 1-2mm plantar of the geometric center of the intramedullary canal. Placing the reamer in this orientation will help ensure that the pilot hole will be as close to the center of the intramedullary canal as possible. Why is this important? Some surgeons have a tendency to ream too dorsal because that is the technique they use when implanting K-wires. Reaming too dorsal can cause the implant to catch on the cortex upon insertion, preventing it from smoothly advancing down the broached cavity.
Broach straight in and straight out.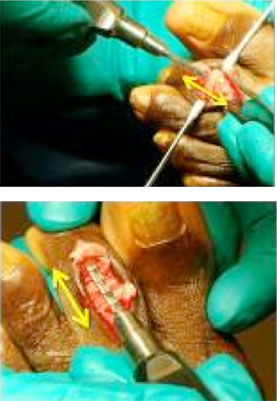
Advance the broach carefully into the pilot hole. Avoid wiggling the broach when inserting. Doing this will enlarge the broached cavity, reducing the amount of interference fit provided by the arrowhead tip.
Likewise, remove the broach by pulling straight out. Avoid wiggling the broach when removing to avoid inadvertently widening the broached cavity.
If the broach does not freely advance, strike it gently with a small mallet.
In harder bone, the broach may be difficult to insert by hand. In instances like this, use a small mallet to advance the broach. Remember the broach must go straight in and straight out. DO NOT wiggle the broach.
Gently strike the broach straight on. If the broach stops advancing and/or the tone created by the hammering changes, STOP HAMMERING to ensure that the bone will not fracture. Consider shooting a picture to evaluate the location of the broach in the intramedullary canal.
Broach in 5mm increments, remove and repeat.
When broaching in hard bone, advance it carefully in 5mm increments. Remove the broach to allow the bone to “relax” prior to continuing the broaching process.
Remove a broach that may be difficult to extract by pressing your thumb against a pick-up.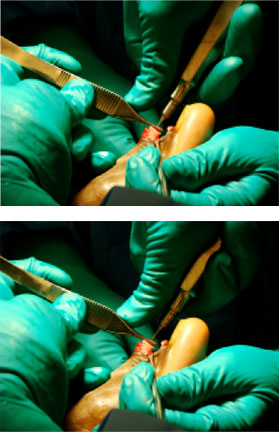
Place a pick-up on either side of broach, held against the bone in which the broach has entered. Place the thumb of the hand holding the broach against the forceps and push. This will place the force of removing the broach against the bone itself, sparing the toe from any strain on the soft tissue.
Keep the insertion forceps engaged on the implant until both segments are compressed against it.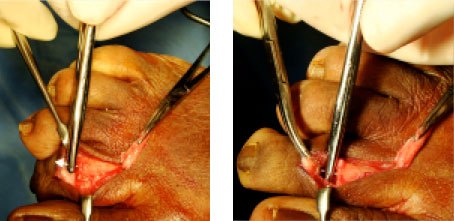
The insertion forceps serves as a positive stop for the implant, preventing it from advancing further into the proximal phalanx when compressing the intermediate phalanx on the distal end of the implant.
If the implant is not advancing and seems stuck:
Gently wiggle the implant in the plantar direction.
- Try gently wiggling the implant in the plantar direction to ensure it is progressing centrally down the broached cavity. Users have occasionally experienced difficulty during insertion when the implant on the insertion forceps is aimed slightly too dorsal and catches on the cortical bone.
Lightly strike the insertion forceps with a small mallet as close to the implant as possible.
- Should the implant not advance after the technique described above it may be hung up on a piece of cancellous bone, use a small mallet to lightly strike the insertion forceps at a spot on the instrument as close to the implant as possible. Striking the forceps at this location will direct the implant in a direction straight down the broached cavity.
“Walk” the arrow down the broached cavity by rocking the implant medially and laterally while exerting pressure.
- Rocking the implant medially and laterally while exerting pressure on the insertion forceps can advance the implant by engaging one side of the arrow in the broached cavity then pivoting the implant as far as possible to engage the opposite side.
Once the implant is inserted, resist the urge to grab the toe and exert a pull-out or rotational force to test the stability of the implant.
Once the ARROW-LOK™ is implanted, resist the urge to tug on or twist the toe to evaluate the stability of the implant. This should be considered destructive testing and may compromise the fixation of the implant.
Close the extensor tendons to help ensure stable fixation.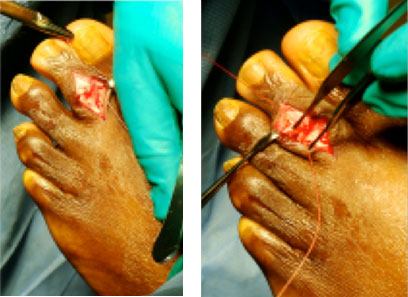
Reapproximate the extensor digitorum longus tendon and the medial and lateral collateral ligaments to help further stabilize the proximal interphalangeal joint that has just been fixated with the ARROW-LOK implant. The more stable a fusion site is, the faster union takes place.
What happens if the implant doesn’t fit regardless of what I do?
An absolute last alternative backup is to use a 1.6mm K-wire and fixate in the traditional manner. The authors experienced isolated instances in which in spite of preop planning that suggested the intramedullary canal would accept an implant, the intramedullary canal was too narrow to accommodate the 3.5mm diameter of the ARROW-LOK™ implant.
Attention Patients
Would you like your surgeon to use the ARROW-LOK Digital Fusion System for your hammertoe correction?
Call us at 470-419-1429 or email us and we will direct you to an ARROW-LOK surgeon.

